Working with images
Overview
One of the quirks and some of the frustration when working with markdown is image files. In Word or Powerpoint, the images are embeded in the document. If you want to make an edit to an image, you’ll have to copy it elsewhere, make the change, and then paste it back.
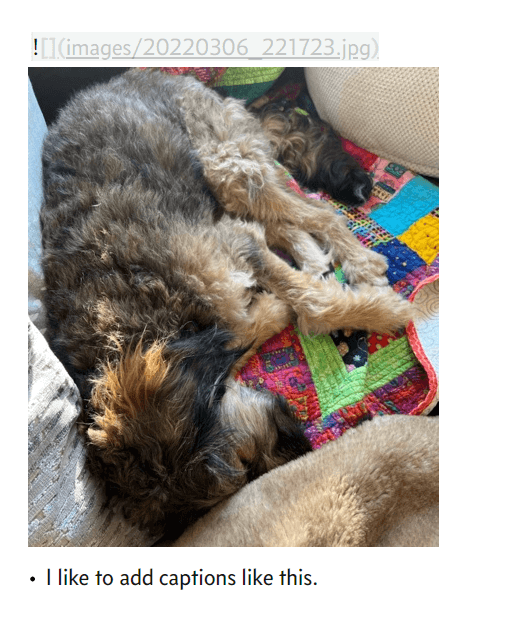
With markdown files, the note itself is just a text file. If you want to include an image, you link to the external file, and the markdown software renders it for you:
You can do type the links manually, but I usually drag and drop the image files.
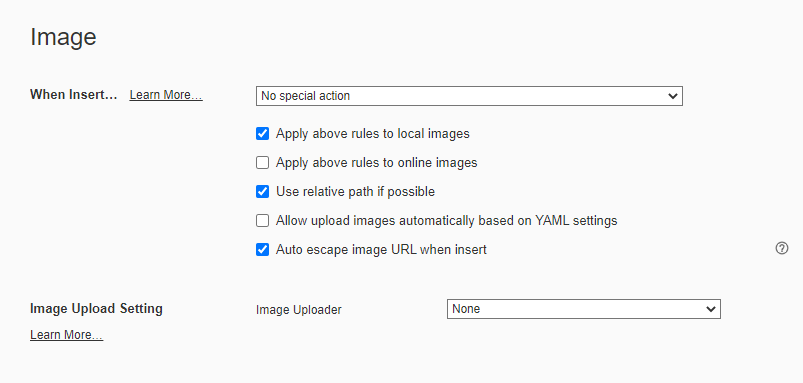
If you are using Typora, make sure to select the relative path option to have shorter link:
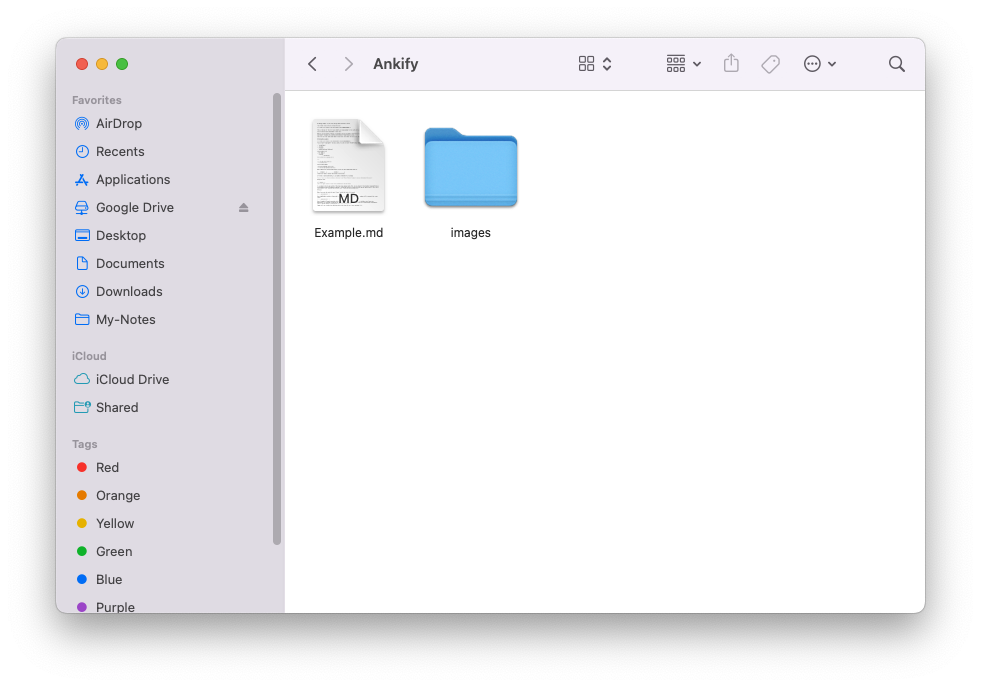
This is what it looks like in the file explorer:
The upside of this is that you always have access to the original image files.
Anki works similarly by having all the image files in one folder and renders them in cards.
When Ankify converts your notes, it will find all images inside the note folder and copy it over to the Anki media folder.
Managing images
You can have one big image folder in your note folder:
Folder 1/
├─ Folder 2/
│  ├─ Example1.md
├─ Folder 3/
│  ├─ Example2.md
├─ Images/
│  ├─ 20220306_221723.jpg
│ ├─ 20220306_221724.jpg- Pro: don’t have to worry about duplicate image names before copying to Anki since all the images are in one folder already
- Con: if you delete a note, you will have to find the corresponding images to delete
Or have separate image folders for each note folder:
Folder 1/
├─ Example1.md
├─ Example1 Images/
│  ├─ 20220306_221723.jpg
Folder 2/
├─ Example2.md
├─ Example2 Images/
│ ├─ 20220306_221724.jpg- Pro: when you delete a file, you can just delete the corresponding image folders
- Con: when you convert using Ankify, if there are two image files with the same name in two different folders, only one will be copied over.